
I love mulberry silk hankies!
They are loads of fun to use and work with. I often use the for detail and colour on the front panels of my felted bags and hats.

What are they?
Mulberry silk hankies are created from the silk worm cocoons of the Bombyx Mori Moth that have been soaked in water, pierced and spread out carefully onto a frame to make them about 25 cm square and stacked up on top of each other. The term Mawata refers to this.
Mulberry silk cocoons that are not quite good enough for the reeling process are de-gummed and either made into silk hankies or they are carded and made into silk cocoon sheets. You can buy mulberry silk in various forms, and they are useful for spinning, making silk paper or combining with felt.
How I use them for felting
I think silk hankies are fantastic for felt makers and spinners. They add colour and texture without the bulk of silk fibres like throwster and noil.
Spread them carefully out over you fibres. I often wet my base fibres first, then flatten them to get the air out. This way you have a nice flat surface to lay out the hankies onto and they wont ripple up on you too much.
Be a little careful of the edges of the hankies, this is usually the thickest part and might need to be coaxed out a little more to thin them down. Remember that the wool fibres need to migrate up through the silk and if they are too thick the wool cant work up through and the silk will eventually rub off the surface.
Mulberry silk cocoons will give a beautiful shiny to the surface of your felt an I often felt them into my hats to give a lovely finish to the crown area.
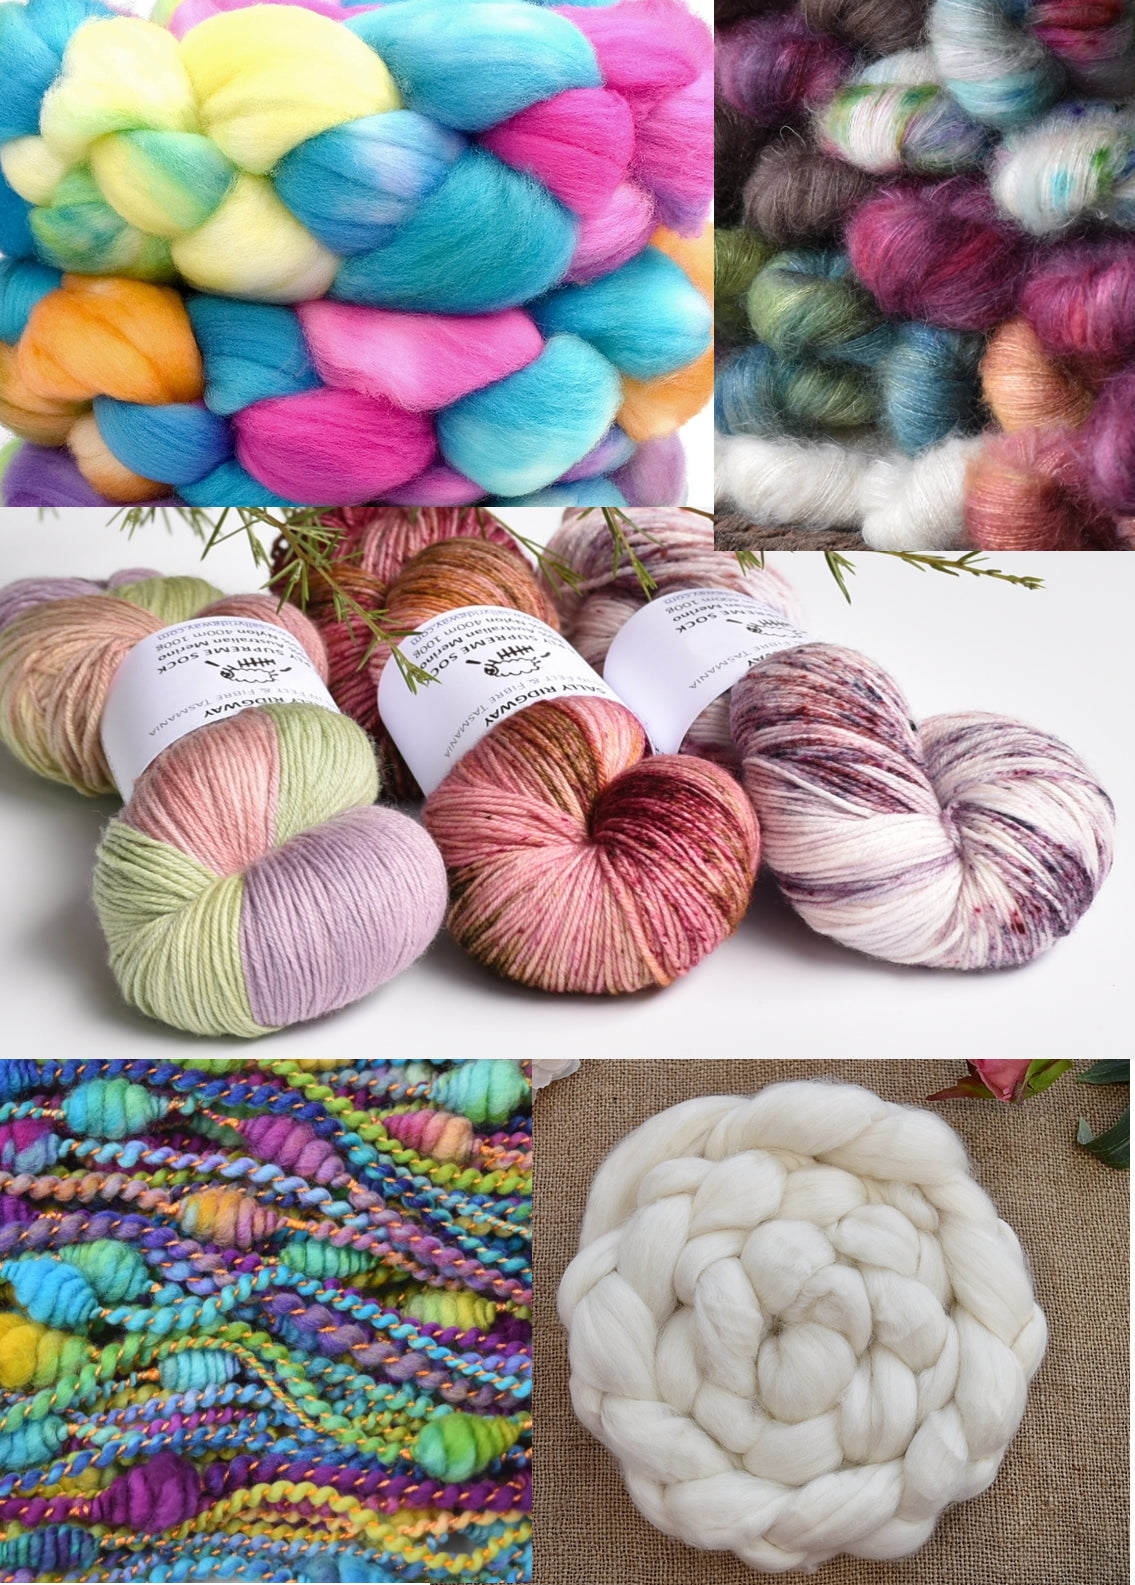
These beautiful mulberry silk hankies can be used for spinning knitting felting bead making paper making fibre arts .... the list goes on!

Knitting with them is also something worth doing.
Although a lot will only do this once! I take each hankie carefully and start by putting a hole in the centre and gently but firmly start working you way around it stretching it out into an ever increasing circle.
Work slowly and carefully in small patches all around gradually getting it pulled out thinner and thinner. Once you have done a couple you will fly around them. When they are as big as you dare break it and carefully roll up the hankie into a little pile and put aside until you have enough.
I always wear this rubber gloves for this job because they will catch and snag on you hands and be a pain to work with.
When you have as many as you need you can either cast one and start knitting straight onto the needles which is exactly what I did in the picture above. Or you can run them through your wheel and lightly spin them. If you do this the you can wind them into a small ball and knit from there.
Experimenting with fibres you don't usually use is always good fun and silk hankies are definitely worth the effort!
More Mulberry Silk Hankies can be found here.